
Arch Linux Installation Guide Part 2
#archlinux #gnome #plasma #xfce #linux #howto Mar 18, 2020 5 minTable of Contents:
This is the continuation of my base install. There are many desktop environments that we can use in Arch Linux but I will only show how to install GNOME, KDE Plasma, and XFCE here. There will be no customization. This is to quickly show how easy to install a desktop environment in Arch Linux.
1. Create a User
First, we need to create a user with a home directory and include in the wheel group. Later on, we will enable all users in that group to have privilege access.
useradd -m -g users -G wheel <username>
I will give a brief explanation of the useradd command options we used.
- -m - Create a new user’s home directory.
- -g - Name of the primary group. Files and folders created by the user will belong to this group.
- -G - Name of the secondary group.
For example, two users will use the computer but only the first user needs privilege access. We can assign both of them to users group but we will only include the first user in the wheel group.
Now let’s change the password of the user.
passwd <username>
2. Create Home Folders
Now let’s create common home directory folders.
mkdir Desktop Documents Downloads Videos Pictures Music
Check the created folders in the home directory by typing ls command.
[marvin@arch ~]$ ls
Desktop  Documents  Downloads  Music  Pictures  Videos
[marvin@arch ~]$
3. Assign the User as Sudoer
The next step is to grant the user privilege rights in the system.
The default editor for visudo command is vi.
It will complain that there is no editor found until we change it.
[root@arch ~]# visudo
visudo: no editor found (editor path = /usr/bin/vi)
[root@arch ~]#
Let’s change it to vim. It is an extended version of vi but with additional features.
export EDITOR=/usr/bin/vim
To give the user privilege access, assign it as sudoer by typing the visudo command and uncomment the line “%wheel ALL=(ALL) NOPASSWD: ALL”.
visudo
Let’s verify it by checking the file /etc/sudoers.
cat /etc/sudoers | grep wheel
[root@arch ~]# cat /etc/sudoers | grep wheel
## Uncomment to allow members of group wheel to execute any command
%wheel ALL=(ALL) ALL
# %wheel ALL=(ALL) NOPASSWD: ALL
[root@arch ~]#
You can now exit from the root user.
exit
[root@arch ~]# exit

Arch Linux 5.5.8-arch1-1 (tty1)

arch login:
Login using the user we created.
arch login: marvin
Password:
[marvin@arch ~]$
Now check the if we are in the user’s home directory.
pwd
[marvin@arch ~]$ pwd
/home/marvin
[marvin@arch ~]$
Let’s test the privilege access.
sudo -v
[marvin@arch ~]$ sudo -v

We trust you have received the usual lecture from the local System
Administrator. It usually boils down to these three things:

    #1) Respect the privacy of others.
    #2) Think before you type.
    #3) With great power comes great responsibility.

[sudo] password for marvin:
[marvin@arch ~]$
4. Install Desktop Environment
This is where you need to select which desktop environment you want.
Navigate to the desktop environment you want:
GNOME
GNOME is the most popular of the three because it is Ubuntu’s default desktop environment.
The display manager included in the gnome group package is GDM. It is also using Wayland instead of Xorg session.
Install the following packages below:
- gnome - contains the GNOME desktop and GNOME applications
- gnome-extra - contains GNOME Tweaks and more applications
Let us now install GNOME including other applications.
sudo pacman -S gnome gnome-extra
For GNOME to start after boot, we need to enable the gdm.service.
sudo systemctl enable gdm.service
The last step is to reboot and wait for GNOME to start.
sudo reboot
You can now see the login screen after boot.
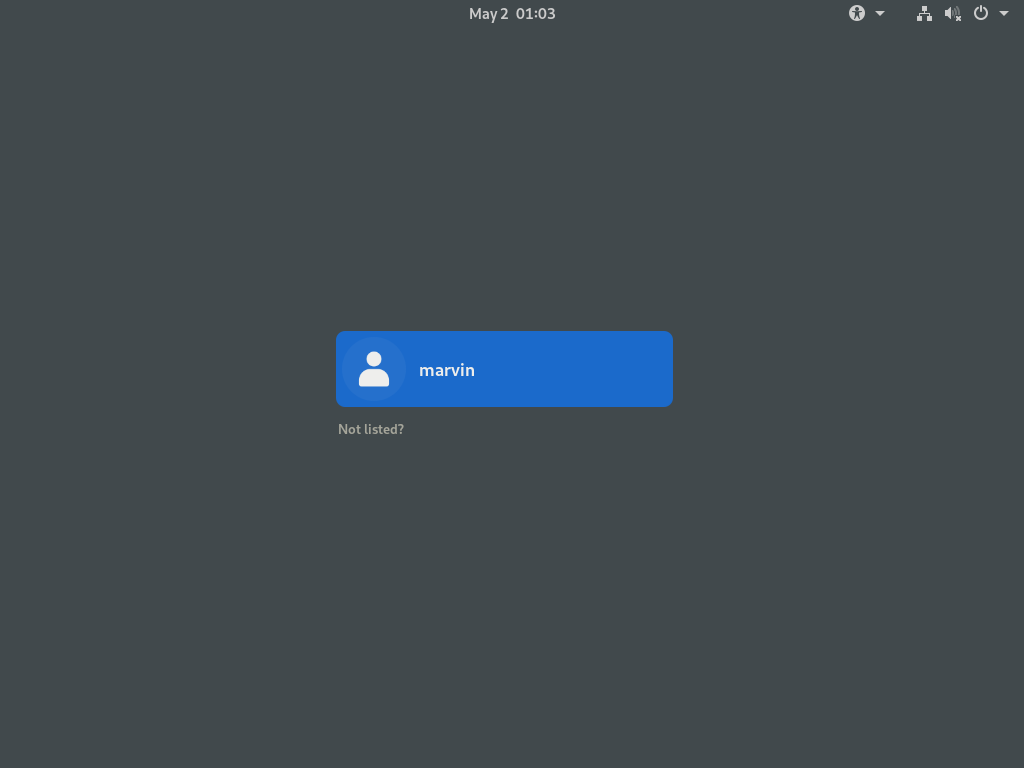
Log in by typing your password.
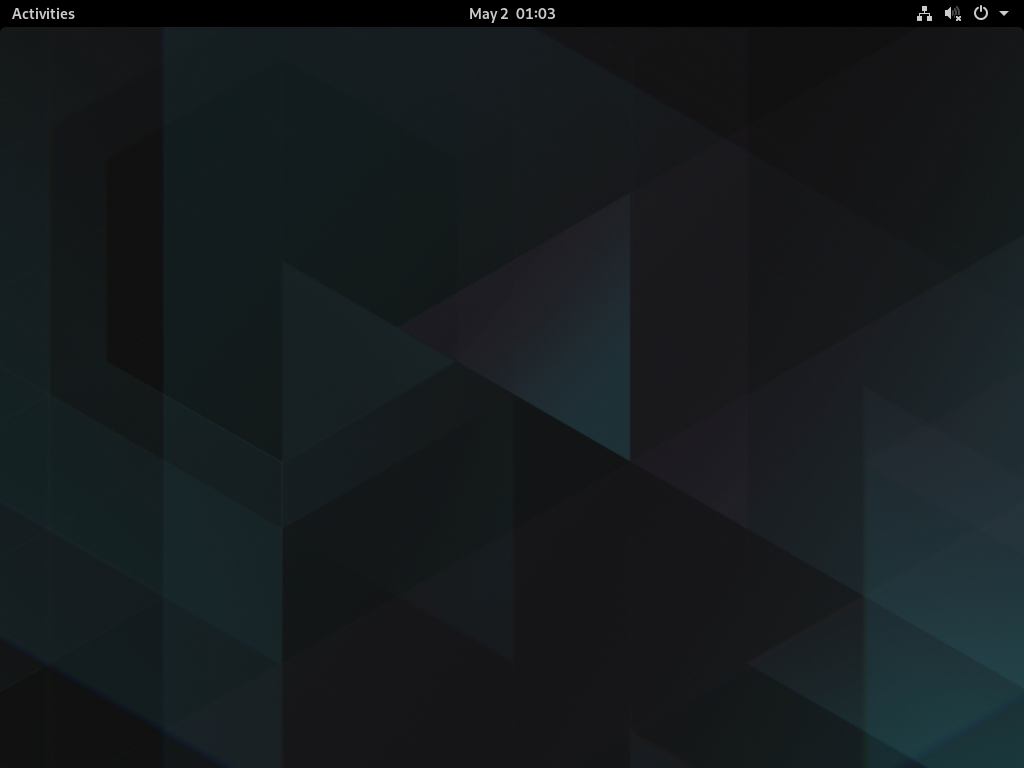
You can now use your GNOME desktop.
Plasma
KDE Plasma is almost similar to Windows desktop with an application launcher and panel at the bottom by default. It is the most flexible desktop for me. You can customize anything you want with it. Some people find this a bit intimidating as there are so many settings available.
Unlike GNOME, KDE Plasma does not include a default display manager. We will use SDDM and Xorg session in this example.
Install the following packages below:
- xorg - display server
- xorg-xinit - program to start display manager
- sddm - display manager (most known as login screen)
- plasma - group package that contains the plasma-desktop and other KDE applications
- kde-applications - full set of KDE applications
Let us install the packages for KDE Plasma by typing:
sudo pacman -S xorg xorg-xinit sddm plasma kde-applications
Generate SSDM example configuration and create the file /etc/sddm.conf.
sddm --example-config | sudo tee /etc/sddm.conf
Configure SDDM to use Breeze theme by adding breeze in the [Theme] section.
sudo vim /etc/sddm.conf
Verify the changes.
cat /etc/sddm.conf | grep breeze
[marvin@arch ~]$ cat /etc/sddm.conf | grep breeze
Current=breeze
CursorTheme=breeze
[marvin@arch ~]$
Select Plasma to launch a new Xorg session.
echo "exec startkde" > ~/.xinitrc && cat ~/.xinitrc
Autostart SDDM after boot.
sudo systemctl enable sddm.service
Finally, reboot and wait for Plasma to start.
sudo reboot
Afer reboot you will see the SDDM login screen.
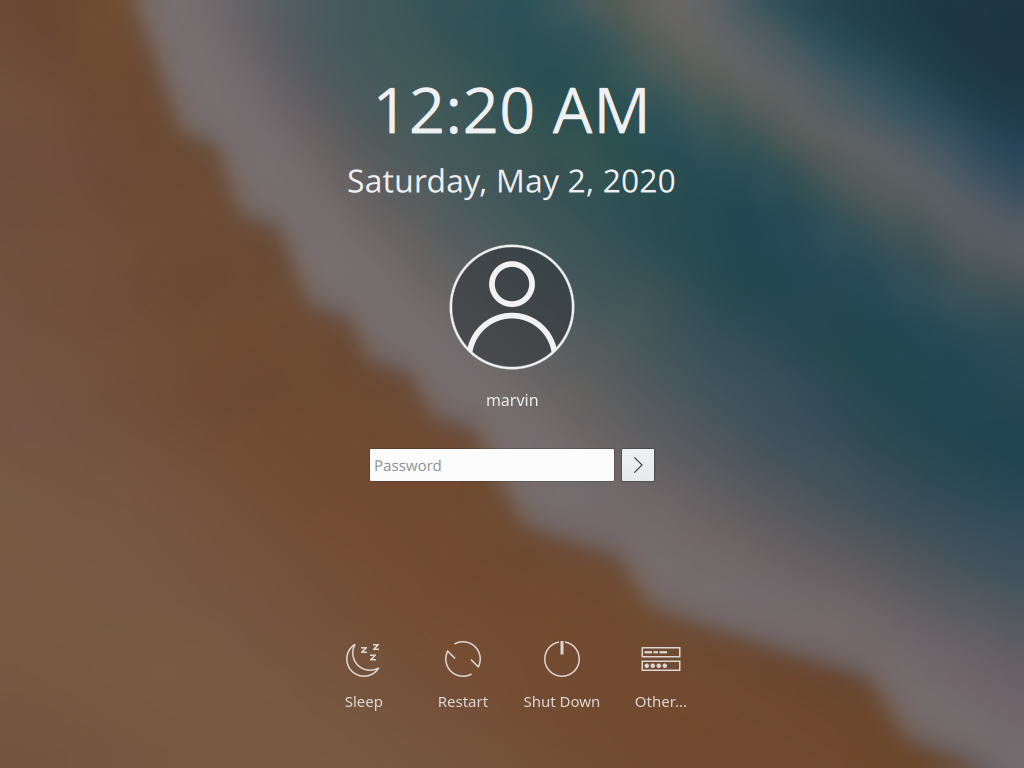
Log in by typing your password.
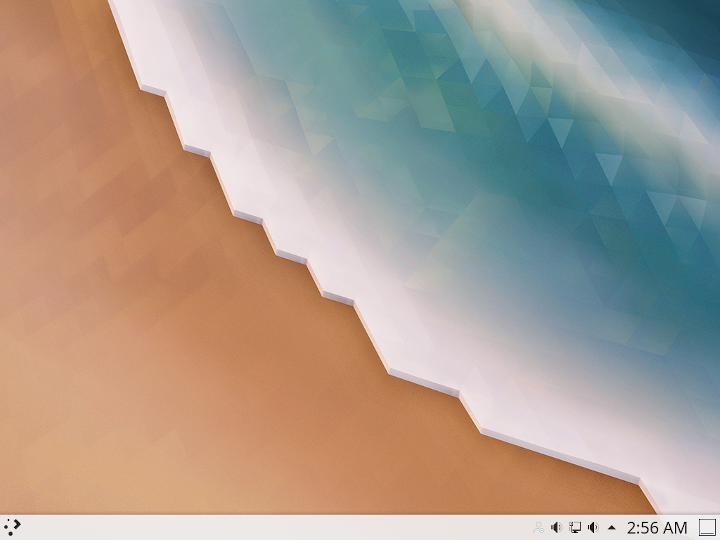
You can now start using your Plasma desktop.
XFCE
XFCE is another very popular desktop environment. What I like about it is it is very light on resources and easy to navigate.
Install the following packages below:
- xorg - display server
- xorg-xinit - program to start display manager
- lightdm - display manager
- lightdm-gtk-greeter - prompts the user for credentials (most known as login screen)
- xfce4 - group package that contains the XFCE desktop and other applications
- xfce4-goodies - includes extra plugins and other utilities
sudo pacman -S xorg xorg-xinit lightdm lightdm-gtk-greeter xfce4 xfce4-goodies
Enable lightdm after boot.
sudo systemctl enable lightdm.service
Finally, reboot and wait for XFCE to start.
sudo reboot
After reboot we will now see the lightdm login screen. It is very simple and can be customized if you want.
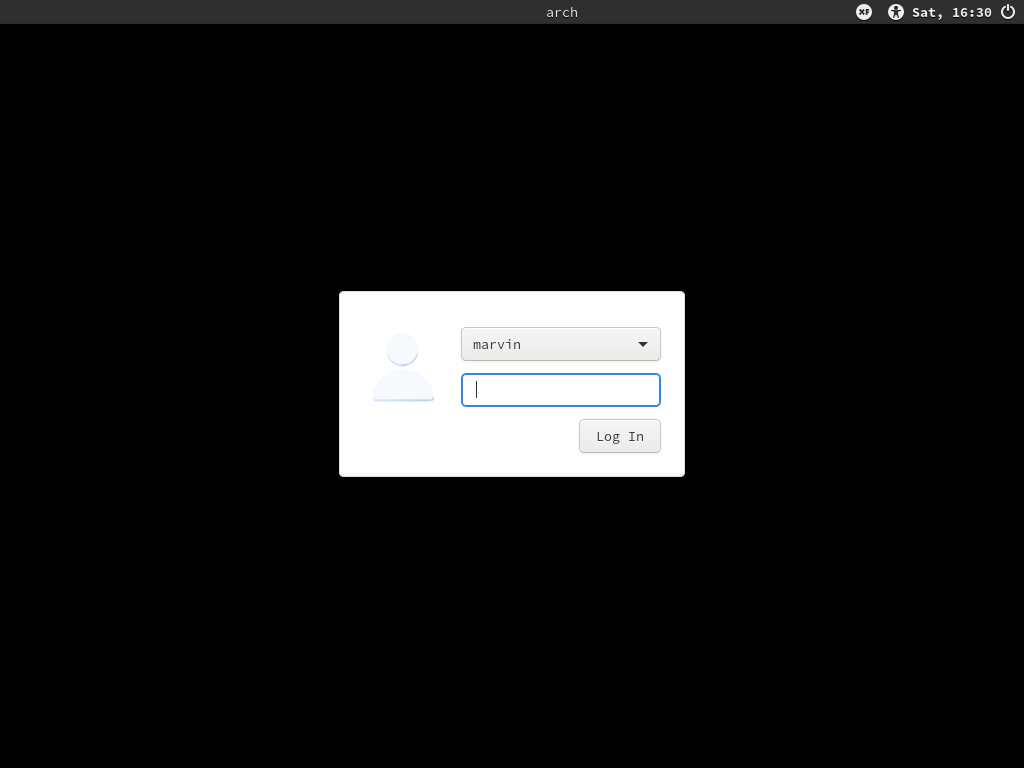
Log in by typing your password.
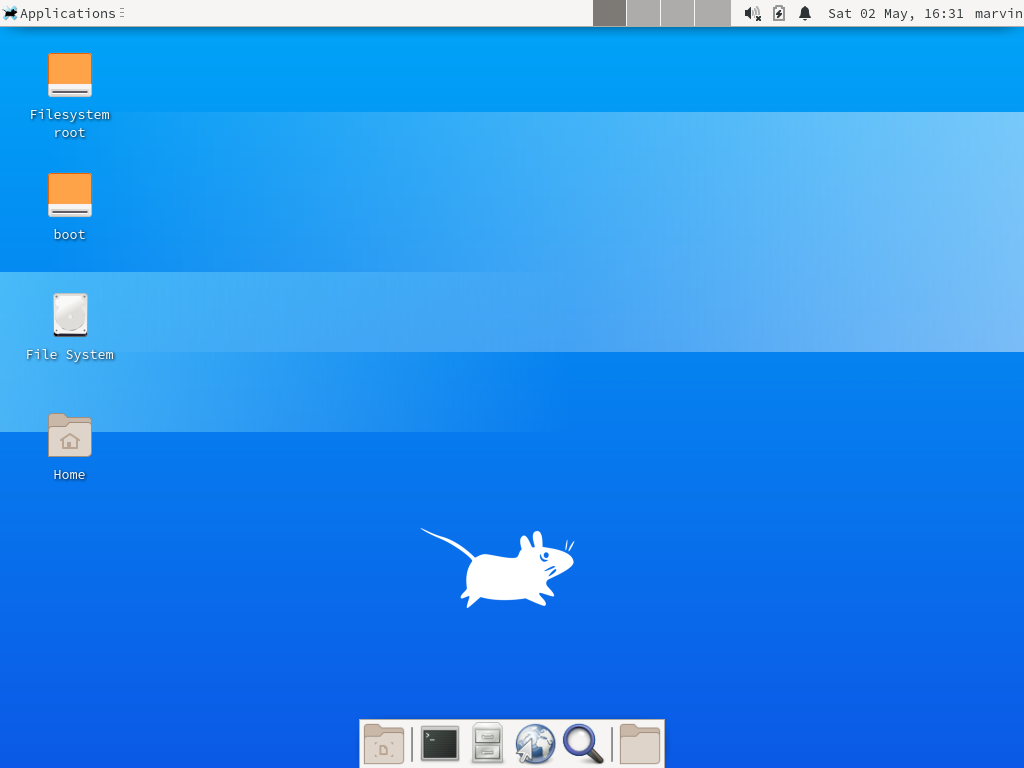
You can now start using your XFCE desktop.
I will create a separate post for the customization part. This is it for now. Thank you for reading. Cheers!


